These items can be viewed at my road show......
I mainly selling punches and papers in my store...I also have other craft tool accessories available....
More stocks arriving today...


It's easy and fun as you head down to the park or beach on a bright summer day and fly a kite you’ve made yourself!
With these super simple papercrafting kite instructions, you can make dozens of fun kites to fly high!
Instructions
 1. Trim a piece of patterned paper or cardstock to 8.5 x 11

2. Trim the edges of the paper using a Border punch

3. Fold the paper in half, forming an 5.5 x 8.5 rectangle.
4. Fold one edge of the paper diagonally, then fold one side out forming a kite shape.
5. Use adhesive to attach a bamboo skewer to help maintain shape.
6. Use a variety of punches to decorate your kite.
7. Fold the “spine” of the kite several times to ensure that it stands on it’s own –
then punch one hole, and adhere string
or ribbon

Have fun with different colors and patterns of paper, and a variety of punched shapes. This is a great project for kids to complete – Adults, you
simply need to help fold. Enjoy your kite flying!


 Leaf


 Butterfly


 glitter papers
 Dzuzi....Hi Glad the witch punch arrived safely...........Enjoy your Halloween Bento creations....Thanks for sharing with us your delicious bento.
 Christmas is another 10 weeks away and I am getting all excited to bring out my Christmas tree from the storeroom...Hooray!
 Hi.....Everyone.....
 Here you are the mini paw punch creatively used as eyes and mouth for the cheese.


 After that you can even use the remnants of the negative pieces to design on your cheese pieces.....punching them into squares and lay them over the animals..... very nice Carolyn!

 The art of Bento making is creating a heat wave!

 Using mini hearts and stars, 6petal flowers, dove and many other shapes to create such a colourful array of a healthy lunch for kids!
 I handmade this card for a friend who ordered it last week for a newly wed couple. I used baby blue metallic card, a paper doily, lace, embossed daisy flowers made by Carla craft cp2 daisy punch, leaves by EK success punch and embossed sticker to create the entire lay out.
 At Tomorrow's Memories- Attended a class to dress up Miss Charlotte
 Fixing the netting for the dress.......... looks easy but quite tedious and delicate... Not easy trying to hold her dress up in Glue.

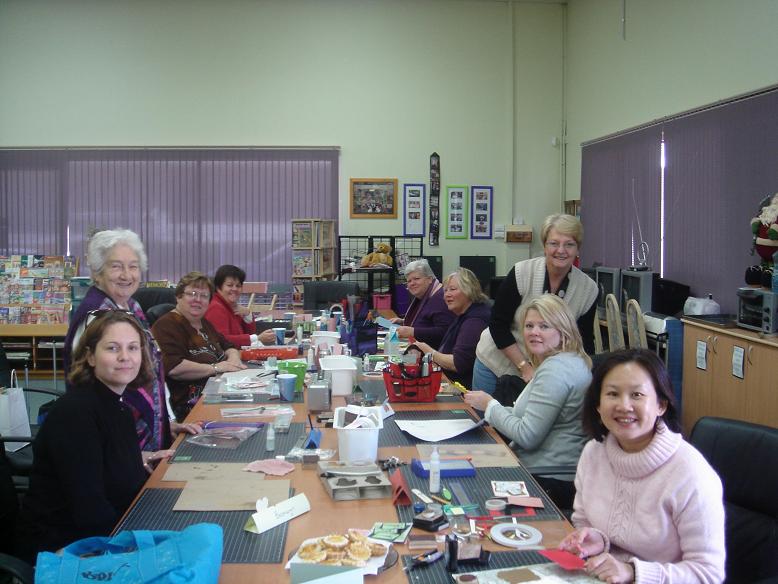 See the lovely delicious quiche on the table....hot and yummy..Courtesy of one of the ladies...I enjoyed my time with this group of crafty ladies
 My finished cards..........techniques used tearing,stamping with various ink types, layering, embossing, shadowing and shading.


 I bought these lovely paper shapers jumbo punches from EK Success and I love them....look at my first few cards I made and all were sold out at the Good Tidings carnival which was held in July recently....


